This article will guide you through the steps to integrate HaloPSA with Lifecycle Insights.
Who can use this feature?
- Administrator users.
What you'll need
- Admin access to a HaloPSA account.
Note
This article captures third-party steps and/or an interface that may have since been updated.
Halo Configuration
Creating an application
The first task will be to configure an application for Lifecycle Insights within HaloPSA.
The below steps will guide you through the process of configuring the required permissions in Halo. When completed, you'll have the Client ID and Client Secret required to complete the integration in Lifecycle Insights.
- Log into HaloPSA and navigate to the Integrations page (Configuration > Integrations)
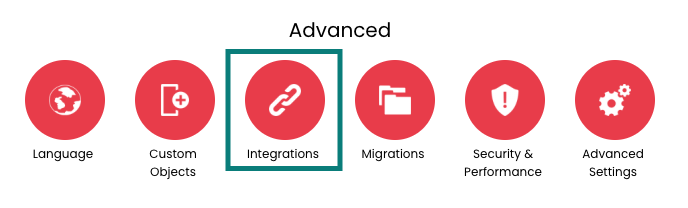
- Click HaloPSA API
- In the Applications section, click View Applications
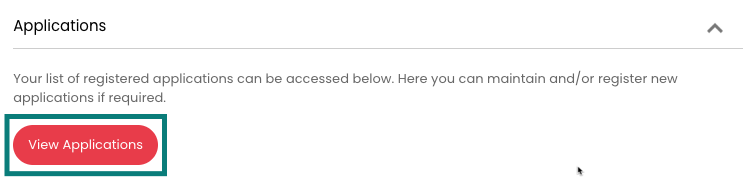
- Create a new application by clicking New in the upper right of the screen
- Populate the Add an Application page with the following information:
- Application Name: Lifecycle Insights (or any appropriate name you choose)
- Ensure that the Active checkbox is checked
- Select Client ID and Secret (Services) as the authentication method
- Login type: Agent
-
Agent to log in as... Select an agent with Read and Modify permissions for:
- Sales
- Assets
- Customers
- Contracts
- Projects
- Tickets
- Invoices
- Item costs
Note
The agent used to log in will need to have access to any relevant departments in order to be able to sync tickets, opportunities and contracts to or from those departments.
IMPORTANT - Before proceeding, be sure to copy both the Client ID and Client Secret and keep them accessible. These will be required to integrate with Lifecycle Insights.
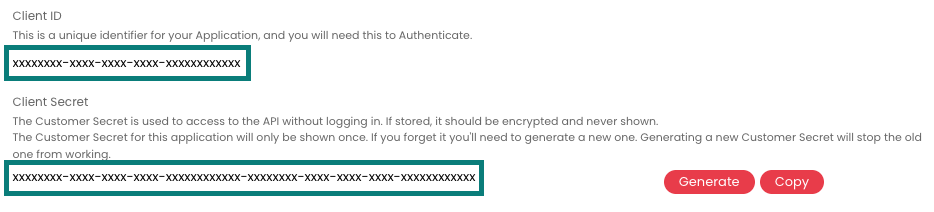 6. Click Save before proceeding to the next section
Setting up application permissions
Now that the application has been set up and the API credentials generated, the next step will be to apply the correct application permissions so that Lifecycle Insights can retrieve data from HaloPSA. The below set of instructions will guide you through this process.
- From the newly created application page, click the Permissions tab beneath the name of the application
- Click Edit in the toolbar at the top of the page to allow you to choose the required permissions
-
Check the following permissions: - read:tickets - edit:tickets - read:customers - read:crm - edit:crm - read:contracts - read:projects* - edit:projects* - read:sales - edit:sales - read:invoices - read:assets - edit:assets
Note: Selections marked with an asterisk (*) denote permissions that Lifecycle Insights will require in the future. These won't be used immediately. 4. Click Save
Setting up ticket types
You can create opportunities within Lifecycle Insights and export them directly into HaloPSA. In order to enable this functionality, you need to set up allowed ticket types.
You will need to complete the following steps for each customer that you wish to integrate with Lifecycle Insights and use our vCIO tools with.
- Navigate to the Customers module in HaloPSA (Return to the Home screen and click Customers)
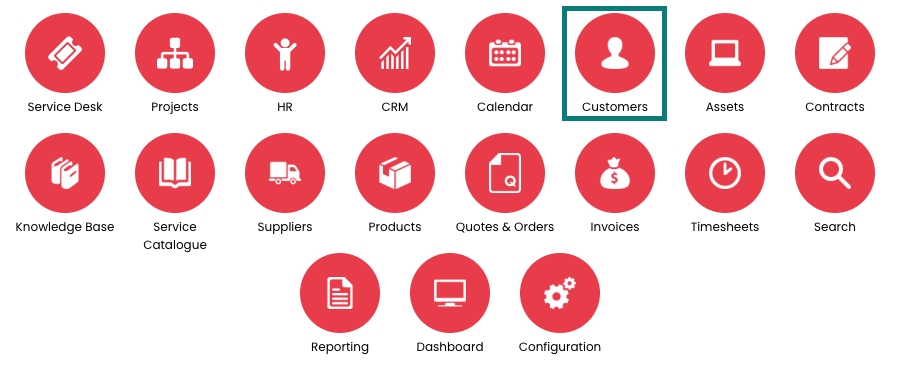
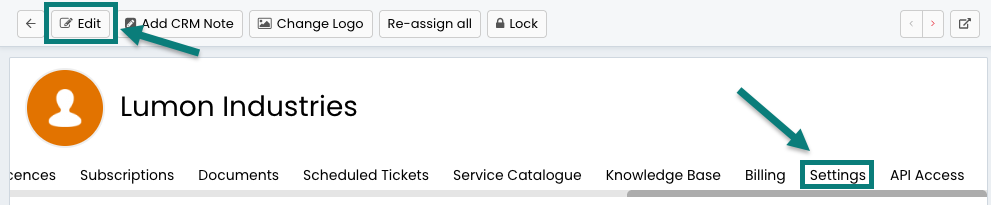
- Select a customer from the list by clicking the customer name, and then click Edit at the top of the page
- From the navigation bar beneath the customer name, click Settings (You may need to scroll to the right to see this option)
- Expand the Ticket Types section
- Ensure that the Opportunity types you have created in HaloPSA appear in the list. You can do this by checking the box that reads Allow use of all Ticket Types

- Click Save
Repeat these steps for each of your vCIO customers to ensure tha available ticket types can be created in Lifecycle Insights
Preparing Integration API information
To complete the setup in HaloPSA and prepare to enable the integration in Lifecycle Insights, you'll need to collect some final details.
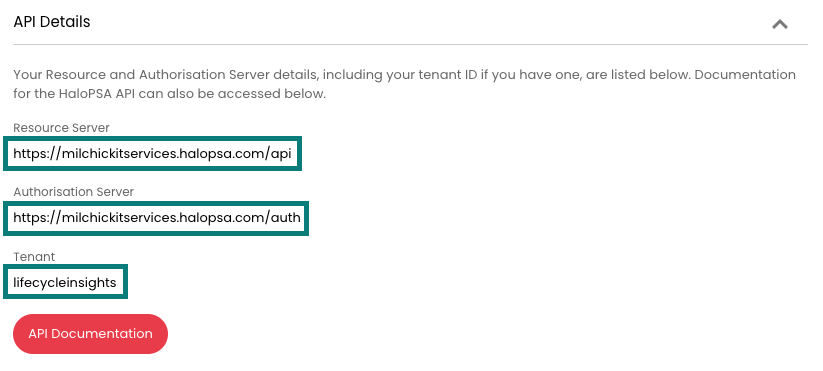
As well as the Client ID and Client Secret that you already gathered, you will need the Resource server URL, Authorization Server URL and Tenant name.
This information can be retrieved from HaloPSA by following these steps:
- Navigate to the Integrations page of HaloPSA (Configurations > Integrations)
- Click HaloPSA API
- Expand the API details section
- Copy the following information and keep it accessible:
- Resource server URL
- Authorization Server URL
- Tenant Name
Before proceeding, ensure that you have the following information. It will be required to complete the integration in Lifecycle Insights:
- Client ID
- Client Secret
- Resource Server URL
- Authorization Server URL
- Tenant Name
Lifecycle Insights Configuration
Now that the application has been set up and you have all of the required data from HaloPSA, the integration can be enabled in Lifecycle Insights. These steps will guide you through the process of finalizing the integration.
- Log into Lifecycle Insights via app.scalepad.com and click the Lifecycle Insights icon
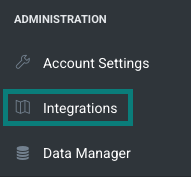
- From the navigation panel on the left, click Integrations under the Administration section
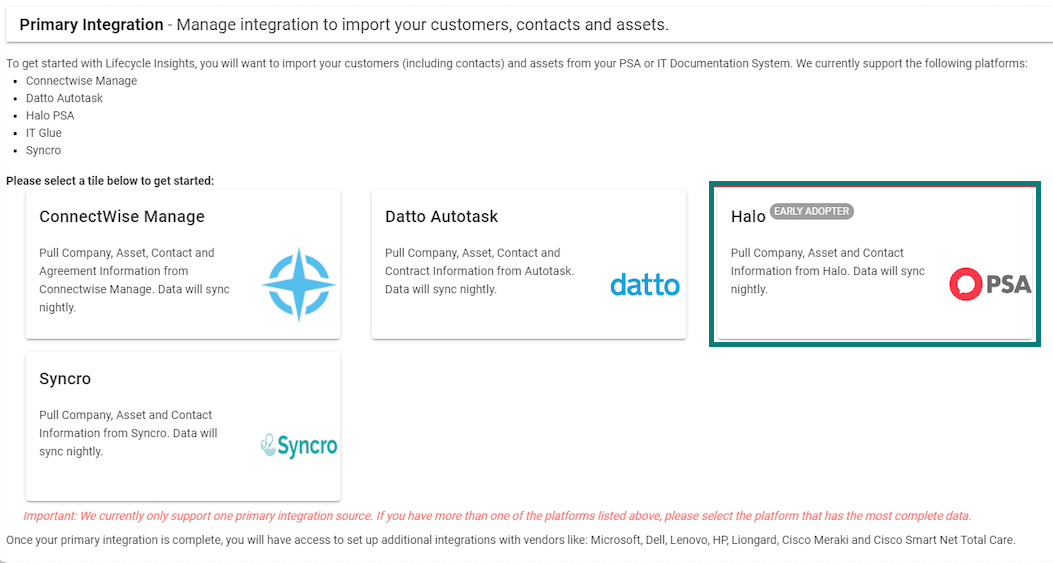
- Click Halo from the list of available integration sources
- Check the box beside Halo Integration Active
-
Fill in the required information that was gathered from HaloPSA in the previous section of this article: - Resource Server URL - Authorization Server URL - Tenant Name - Client ID - **Client Secret
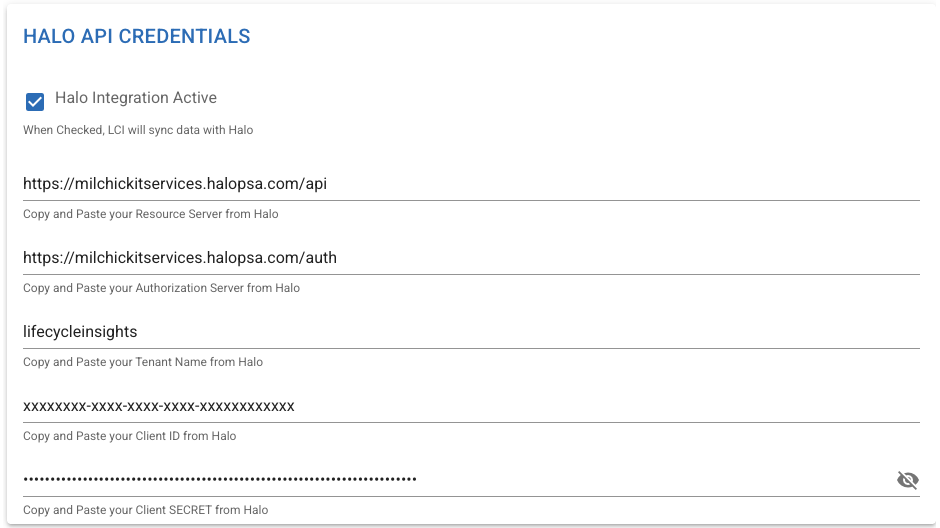 6. Click Test Settings. If everything was entered correctly, you will see a message reading 'Connection Successful'
7. Click Save Settings**.
6. Click Test Settings. If everything was entered correctly, you will see a message reading 'Connection Successful'
7. Click Save Settings**.
Once you've saved your credentials, Lifecycle Insights will immediately begin the initial sync process.
Note
It can take up to an hour for the initial data sync to complete. This delay should only apply to the initial sync. You will receive an email notification upon its completion.
Congratulations! You should now have successfully integrated HaloPSA with Lifecycle Insights.
Any questions?
Reach out to our Lifecycle Insights support team by submitting a support ticket.